
How to Setup Model Destruction
This asset allows you to easily enable destruction effects on standard models in your game scene by attaching the InstantDestructionSimple component.
Setup Steps
Step 1: Prepare Your Model
Prepare the 3D model (e.g., FBX file) you want to destroy.
Required Setting
In the target model's import settings (Inspector), you must enable the Read/Write property and click Apply.
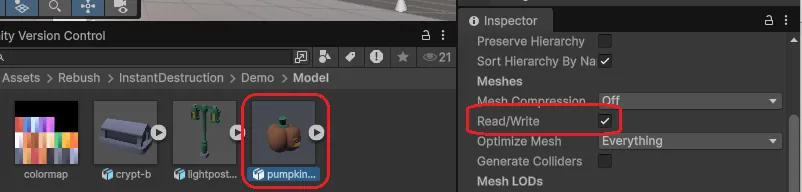
Step 2: Instantiation
Drag and drop the prepared model into the Hierarchy to place (instantiate) it in the scene. Note: A standard 3D model will automatically have a MeshFilter and MeshRenderer attached. This asset requires these two components to function, so please verify in the Inspector that they are attached.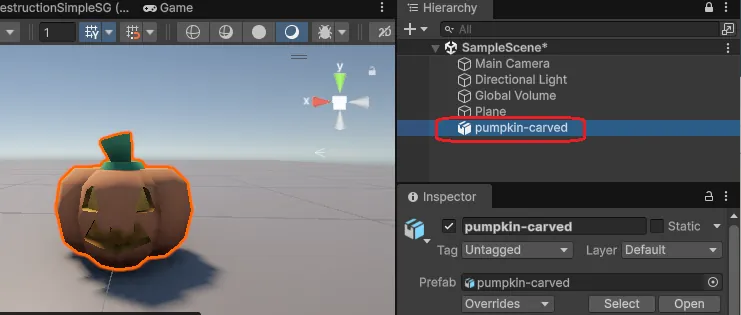
Step 3: Attach the Component
Select the placed object and attach the InstantDestructionSimple component from the Inspector. 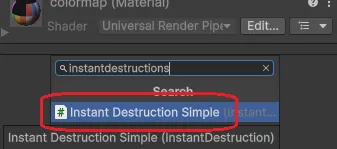
Auto-Attach
Upon attaching, the necessary BoxCollider and AudioSource components are added automatically, making it ready to use immediately. (Detailed parameter settings are explained on a separate page.)
Rigidbody
Triggering destruction requires a script, but the easiest way to verify it works is to attach a Rigidbody to the GameObject and let it collide with a panel or ground. This allows you to test the destruction process without writing any code.
Step 4: Destruction in Play Mode
Enter Play Mode and verify the model's destruction. The destruction can be triggered primarily in two ways:
- Collider Collision: The model is destroyed when its collider collides with another object.
- Called from Code: The destruction is triggered by calling the
OnTrigger()method from any script.
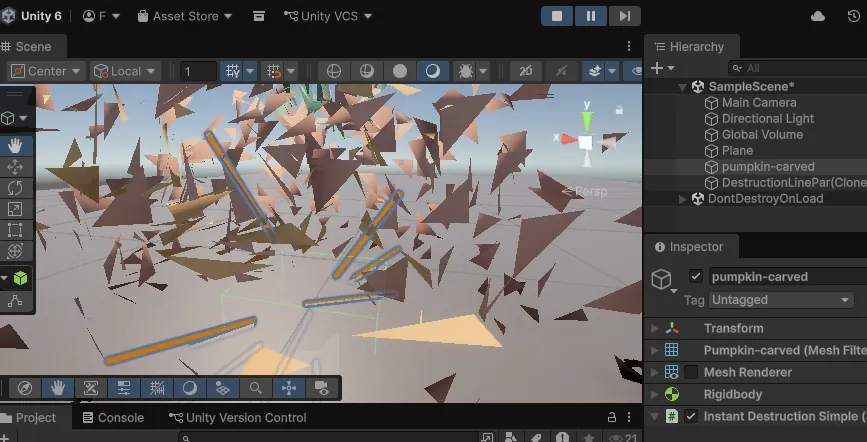
About the Preview Window
This asset includes a dedicated Preview Window. Using this window, you can easily adjust parameters and simulate destruction without having to enter Play Mode. 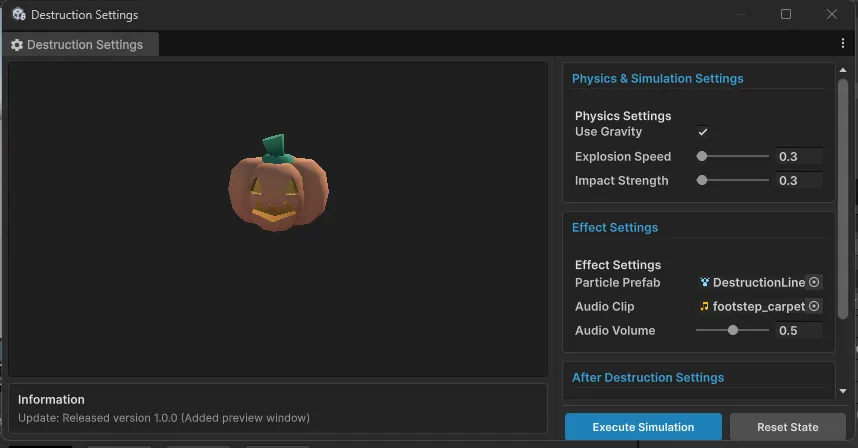
Next, let's learn about the Parameters used to adjust destruction behavior.