
Installation Guide
This guide covers the steps from importing the asset into your project to experiencing your first destruction.
Installation Steps
Step 1: Getting the Asset
- Access the Instant Destruction page on the Unity Asset Store.
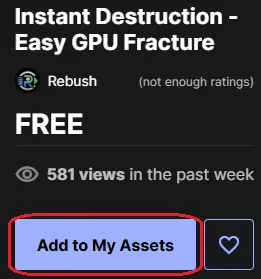
- Click the "Add to My Assets" button to get the asset.
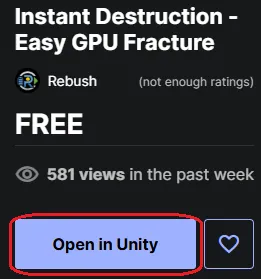
- Click the "Open in Unity" button to open it in the Unity Editor.
Step 2: Importing the Asset
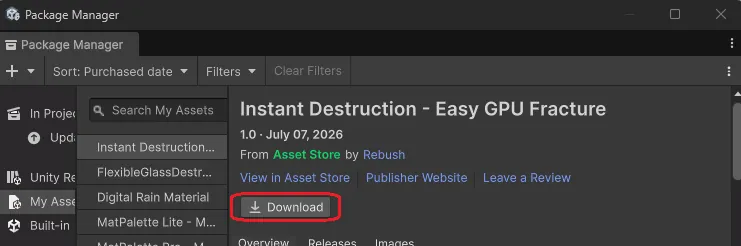
- Once the Package Manager opens, click Download and then Import.
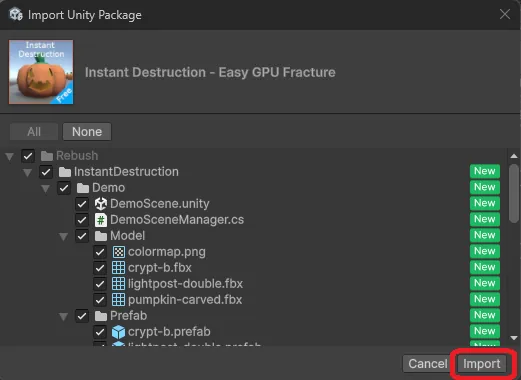
- After importing is complete, the package will be added under the following path:
/Assets/Rebush/InstantDestruction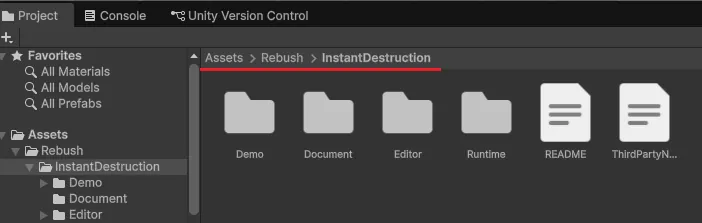
Step 3: Opening the Demo Scene
- Open the demo scene located at the following path:
/Assets/Rebush/InstantDestruction/Demo/DemoScene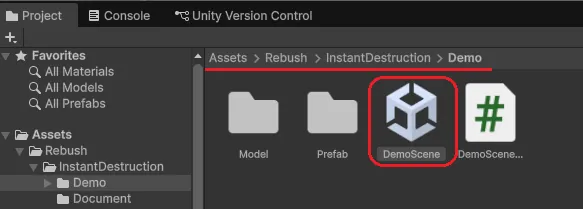
Step 4: Operating the Demo Scene
Play the demo scene to test destruction with the following controls: 
🎥 Camera Controls
WASD: Move cameraMouse: Rotate view
💥 Destruction Actions
L-Click: Shoot RaycastSpace: Spawn Ball
⚙️ Scene Controls
F1: Reload SceneF2: Destroy All ObjectsF3: Add Objects
TMP Importer
If the "TMP Importer" window appears, click "Import TMP Essentials" to install TextMeshPro. 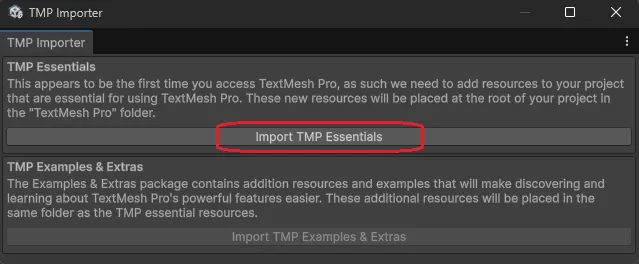
Next, proceed to How to Setup Model Destruction to learn how to set it up on your own models.